


-
From Bed To Bench
DIY your own vintage-style bench
15 November 2014
Repurpose the headboard and footboard of an old double bed to make a beautiful bench.
You Will Need
- 22 x 96mm pine cut to: two lengths of 1280mm, five lengths of 400mm (seat frame), two lengths of 430mm (spacers)
- 16mm chipboard cut to: 1280 x 500mm (seat)
- wood glue
- fifty 8mm x 50mm
- chipboard screws
- 1370 x 550 x 50mm sponge
- fabric of your choice (use fabric remnants)
- double bed headboard and footboard
- 1 litre Annie Sloan Chalk Paint (we used the colour French Linen)
- dark Annie Sloan Wax
- 80-grit sandpaper and cloth for buffing
- 1 Scotch Brite heavy-duty scourer
Tools
- drill and 3mm drill bit
- pencil
- tape measure
- jigsaw
- staple gun
- 16mm and 24mm wood drill bits/spade bits
- ruler
- masking tape
- long wood clamp
Project Notes
- If you don’t have an old bed, ask family or friends or visit second-hand stores or pawn shops.
- REMEMBER to drill pilot holes.
How To
1 You need two equal sections for the sides – use the footboard for this. Measure from the outside of the footboard 500mm inwards and draw a line from top to bottom. Saw along this line with your jigsaw.
2 Glue and screw together two of the 400mm lengths between the two 1280mm lengths.
3 Place the remaining three 400mm planks flat in the frame – one at each short side and one in the middle. Glue and screw together.
4 Measure and draw a line 400mm from the bottom edge of the two sides. Screw the two 430mm spacers onto the inside of the sides.
5 Now attach the seat frame to the two sides. Place the seat frame on its head on the spacing planks; glue and screw together.
6 Now mark the spot where the sides of the headboard will be screwed together to form the back of the bench. Drill four pilot holes on the inside of the marks on the headboard and turn the headboard over. Countersink the pilot holes with a 16mm drill bit.
7. Place the frame with the sides back on the markings on the headboard and clamp in place. Secure with screws.
8. Using the 24mm bit, drill holes in the chipboard (this prevents the sponge from becoming mouldy). Place the chipboard on top of the sponge and staple the sponge to it. Place the sponge-covered board on top of the reverse side of the fabric, pull the fabric tight and secure it with the staple gun.
TIP Fold the edge of the fabric over for a stronger join and neater finish.
9. Sand the bench lightly with the scourer and coat with Annie Sloan Chalk Paint or a paint of your choice. Allow to dry completely.
10. Lightly sand with sandpaper to create a weathered look, seal with Annie Sloan Wax and buff with a soft cloth until nice and smooth.
Words: Deon de Goede, Home magazine
Images: Francois Oberholster

-

Other Posts in DIY
-
DIY
A Concrete Plan
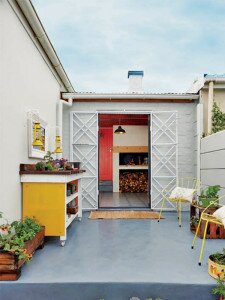
Embarrassed by the peeling paint on your stoep floor? We show you how to give it a quick revamp
Other Posts in Home
-
Décor
Off The Beaten Path

Next time you’re on the N1, take a detour and pay a visit to a charming Art Deco hotel with old-world charm, top-class food and a paradise garden
-
Décor
A Brooklyn Apartment You’ve Got To See
Blogger Joanna Goddard shows off her new Brooklyn apartment
-
Décor
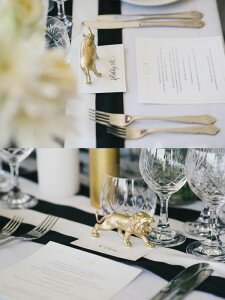
Woolworths Gets Easter Right

One of our favourite stores has the cutest items for Easter celebrations.
-

Dailyfix copyright Media24.
Dailyfix is the new online home of Fairlady, Home and Ideas magazines.
Read more about us here.
Made by OnNet.
Sitemap