https://dailyfix.co.za/subscribe-to-home/ https://dailyfix.co.za/subscribe/ Click to Subscribe

DAILYFIX

Search
  • All
  • Festive
  • Lifestyle
    • Food & Drink
    • Arts & Entertainment
    • Work & Money
    • Caring & Giving
  • Recipes
    • Banting
    • Breakfast & Brunch
    • Desserts & Baking
    • Main Dishes
    • Pantry
    • Soups & Salads
    • Starters and Sides
    • Vegetarian
  • Style
    • Beauty
    • Fashion
    • Wellness
    • Style Guru
  • Home
    • Décor
    • DIY
    • Fix it with Flair
    • Promotion
  • Garden
    • Garden
    • Pets
  • Travel
    • Destinations
    • Travel News
    • Share your journey
  • Crafts
    • Templates
  • Win
    • Winners
  • Wedding
  • Test House
  • Shop
    • Fairlady Shop
    • Home Shop
    • Ideas Shop
    • Spree Beauty Shop
  • Crafts

    Porcelain Apron

    Transfer pictures of pretty vintage porcelain on to a plain apron

    21 October 2014

    You will need

    • apron
    • digital photos, or templates
    • transfer paper
    • greaseproof paper (sometimes included with the transfer paper)
    • scissors

    Apron template

    To make
    1
    Scan the templates on to your computer or take your own photos. Print the images on an inkjet printer (not a laser printer) on to a sheet of transfer paper and leave for five minutes so the ink can dry. Cut out neatly. TIP We used Mirage Transfer Paper. Even though the apron is white we used transfer paper for dark fabric because we feel it gives brighter prints. Follow the manufacturer’s directions carefully.

    2 Pull the layer on which the image is printed away from the back.

    3 Ensure your iron is on its hottest setting with the steam function off. Work on a flat, hard surface and first iron the apron. Place the photo print in position on the apron with the image facing you. Cover with the greaseproof paper.

    4 Now iron the photo on to the apron, without pressing too hard with the iron. Move it in a circular motion and allow the heat to distribute evenly – it will take about four minutes per A4 photo. Iron into the corners too.

    5 Remove the greaseproof paper – you will be able to reuse it if there is no ink on it.

    TIP First print the images on to plain paper to make sure the size is correct.

    Text and image: Ideas magazine
    email print

    To have more Dailyfix content delivered directly to your inbox, subscribe to our free newsletters here, or get your Dailyfix by following us on and .

    Email this link to a friend

    • FREE NEWSLETTERS

      Choose from our menu of newsletters to receive the latest from Dailyfix in your inbox:
    • SPREE SPECIALS
      MORE VIDEOS

Other Posts in Crafts

  • Crafts

    Start Your Own Range Of Bath Products

    With a few basic recipes you can start your own range of bath products

  • Crafts

    Christmas Table Baubles

    Make a variety of baubles to decorate your table

  • Crafts

    iPad Pouch

    Transform beautiful tapestry into an iPad pouch

More Posts on DAILYFIX

  • Décor

    Special Place Cards

    Make place cards that you can hang from your guests’ chairs

  • Desserts & Baking

    Strawberry Pavlova With Cream, Nuts And Choc Sauce

    This dessert is easy to serve as you can make the meringue beforehand and keep it in an airtight container until needed

  • Fairlady Shop

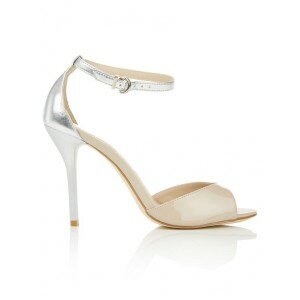
    Two-Tone Heels

    Nude metallic heel

    Heels with ankle straps two-tone, Wild Alice (R399)

Shop with DAILYFIX

  • Fairlady Shop

    Assymetrical Skirt

    Asymmetrical midi skirt pale blue, Edit ( R299)

  • Fairlady Shop

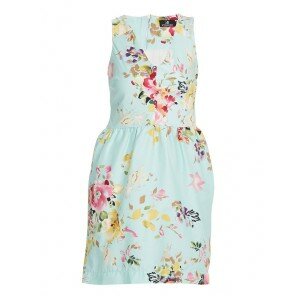
    Fit And Flare Dress

    Light blue floral dress

    Floral fit and flare dress multi-colour, Style Republic (R450)

  • Fairlady Shop

    Tan Sandals

    Sandals with ankle strap tan, Zoom (R249)

  • Newsletters
  • Advertise
  • Terms & Conditions
  • DAILYFIX

    Dailyfix copyright Media24.
    Dailyfix is the new online home of Fairlady, Home and Ideas magazines.
    Read more about us here.
    Made by OnNet.
    Sitemap

join us for daily inspiration

gorgeous décor, easy recipes, diy & fashion, beauty, wellness & more