home https://dailyfix.co.za/subscribe/ https://dailyfix.co.za/subscribe-to-ideas/ ideas Click to Subscribe

DAILYFIX

Search
  • All
  • Lifestyle
    • Food & Drink
    • Arts & Entertainment
    • Work & Money
    • Caring & Giving
  • Recipes
    • Banting
    • Breakfast & Brunch
    • Desserts & Baking
    • Main Dishes
    • Pantry
    • Soups & Salads
    • Starters and Sides
    • Vegetarian
  • Style
    • Beauty
    • Fashion
    • Wellness
    • Style Guru
  • Home
    • Décor
    • DIY
    • Fix it with Flair
    • Promotion
  • Garden
    • Garden
    • Pets
  • Travel
    • Destinations
    • Travel News
    • Share your journey
  • Crafts
    • Templates
  • Win
    • Winners
  • Wedding
  • Test House
  • Shop
    • Fairlady Shop
    • Home Shop
    • Ideas Shop
    • Spree Beauty Shop
  • Crafts

    Decorative Letters

    Display these letters on your mantelpiece or on a bookshelf, or hang them on the wall by securing them with double sided mirror tape

    7 March 2015

    You Will Need

    • Supawood squares
    • sponge roller
    • brightly coloured craft paint
    • letters printed onto paper
    • acetate
    • craft knife and cutting mat
    • stencil glue
    • paintbrush
    • sponge

    To Make
    1 Choose a word you would like to put on display and have a Supawood square cut for each letter to a size of your choice. The Supawood should preferably not be thicker than 10mm.

    2 Use a sponge roller to paint each square in a bright colour, and don’t forget to paint the sides as well. Ensure that the colours of the adjacent letters complement one another. Paint two or more coats, if necessary, leaving each coat to dry before painting the next. To add texture, paint the final coat using a lot of paint on the sponge roller. To add extra interest to your letters, use a dry paintbrush and randomly dab on paint in a darker shade over the final coat that you applied with the sponge roller.

    3 Print out the letters in a font you like. Place each letter on a cutting mat and make a stencil by carefully cutting it out of acetate. Use a craft knife to ensure a neat finish.

    4 Paint stencil glue on the back of each stencil and leave to dry for a few moments until the glue becomes tacky. Position the stencil on the centre of each Supawood square. Use a sponge to dab on a contrasting colour over the stencil. Before lifting the stencil, ensure that the whole letter has been covered with paint and that the paint has been applied evenly. Leave to dry completely, before displaying.

    Text and image: Ideas
    email print

    To have more Dailyfix content delivered directly to your inbox, subscribe to our free newsletters here, or get your Dailyfix by following us on and .

    Email this link to a friend

    • FREE NEWSLETTERS

      Choose from our menu of newsletters to receive the latest from Dailyfix in your inbox:
    • SPREE SPECIALS
      MORE VIDEOS

Other Posts in Crafts

  • Crafts

    Sitting Pretty

    An easy bench to seat more guests

  • Crafts

    Think Inside The Box

    Keep old, unused boxes for a brand-new use

  • Crafts

    A Whiter Shade Of Pale

    A better use for those empty drink bottles

More Posts on DAILYFIX

  • Main Dishes

    Chicken In A Crunchy Mustard Coating

    Serve with mashed potatoes and vegetables – and you’re good to go

  • Win

    Win With Issey Miyake

    Today only one lucky reader stands a chance of winning an Issey Miyake Pleats Please In Bloom

  • Main Dishes

    Chicken Fricassée With Pommes Frites

    Succulent chicken and veggies, what could be better?

Shop with DAILYFIX

  • Fairlady Shop

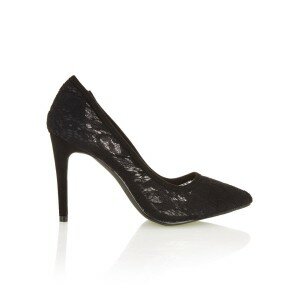
    Court Shoes

    Lace court heels.jpg

    Lace court shoes black, Daniella Michelle ( R749)

  • Fairlady Shop

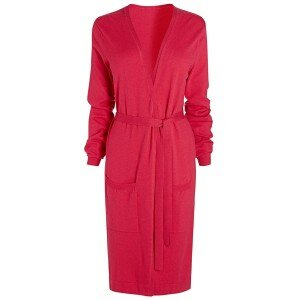
    Maxi Cardigan

    Maxi cardigan.jpg

    Maxi cardigan mid pink, Next (R754)

  • Fairlady Shop

    Kaftan Blouse

    Kaftan blouse.jpg

    Kaftan blouse multi-colour, Next (R535)

  • Newsletters
  • Advertise
  • Terms & Conditions
  • DAILYFIX

    Dailyfix copyright Media24.
    Dailyfix is the new online home of Fairlady, Home and Ideas magazines.
    Read more about us here.
    Made by OnNet.
    Sitemap